DIY Cherry Garland

Here is a fun little DIY for a cherry garland, made from wooden balls. It's a good way to add a little dimension to a space, and it's also a fun one to do with littles, as they will have fun painting the little balls!
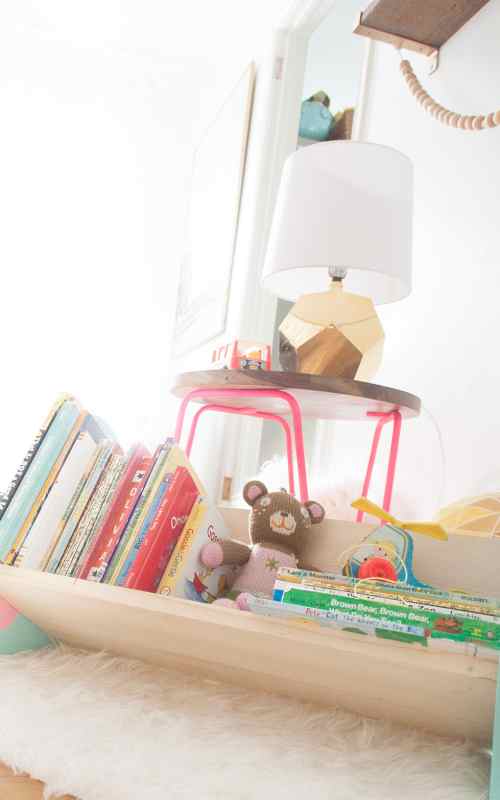
(Sources: Overcast Wall Shelf; Flora and the Flamingo; Play Camera, Wall color is Angelic by Sherwin Williams)

Materials Needed: Wooden Balls (can be found at Michael's or craft store; make sure they have holes!) | Twine | Yarn | Paint | Paintbrush | Green Felt | Scissors
Paint wooden balls. While they dry, cut leaves from the felt, in a variety of sizes. Cut one long piece of yarn to hold the garland. Next, cut 5" pieces of twine. Tie a knot in one end (making sure it is large enough so the balls don't slip off) and thread two of the balls onto the twine, making a knot on the other end to secure them. Then tie each 5" piece onto the yarn, spacing them equally apart. Lastly, stitch the green leaves over the knot securing the cherries.

A fun pop of color, right?

Can't wait to share the rest of Vivi's room - just have a few more details to finish up!

(Circus Bear from here.)

Discussion