how to turn vintage photos pink
or any color you would like
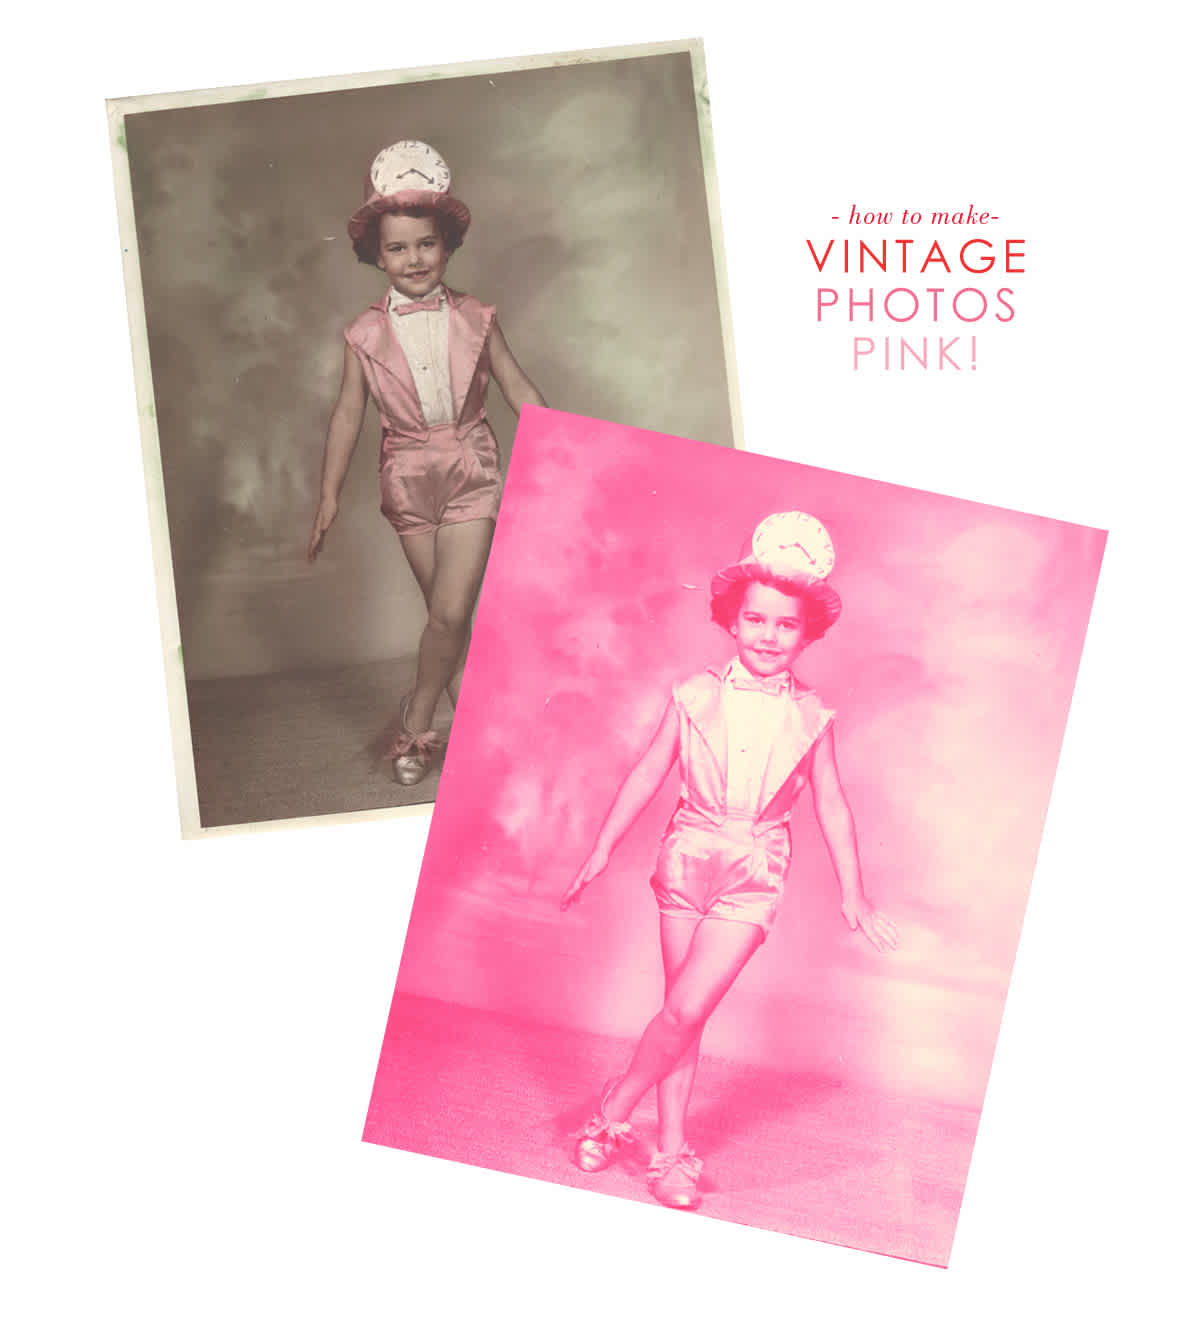 I realized I never posted a tutorial on how to turn photos pink, and some of you asked about it, so here it is! It's actually really easy if you have Photoshop. If you don't have it and want to give it a try, you can get a 30 day trial for free, which is pretty great! (I'm not familiar with Photoshop Elements or other photo editing software, so I can't speak to how to do this elsewhere - apologies!) Here are the steps:
 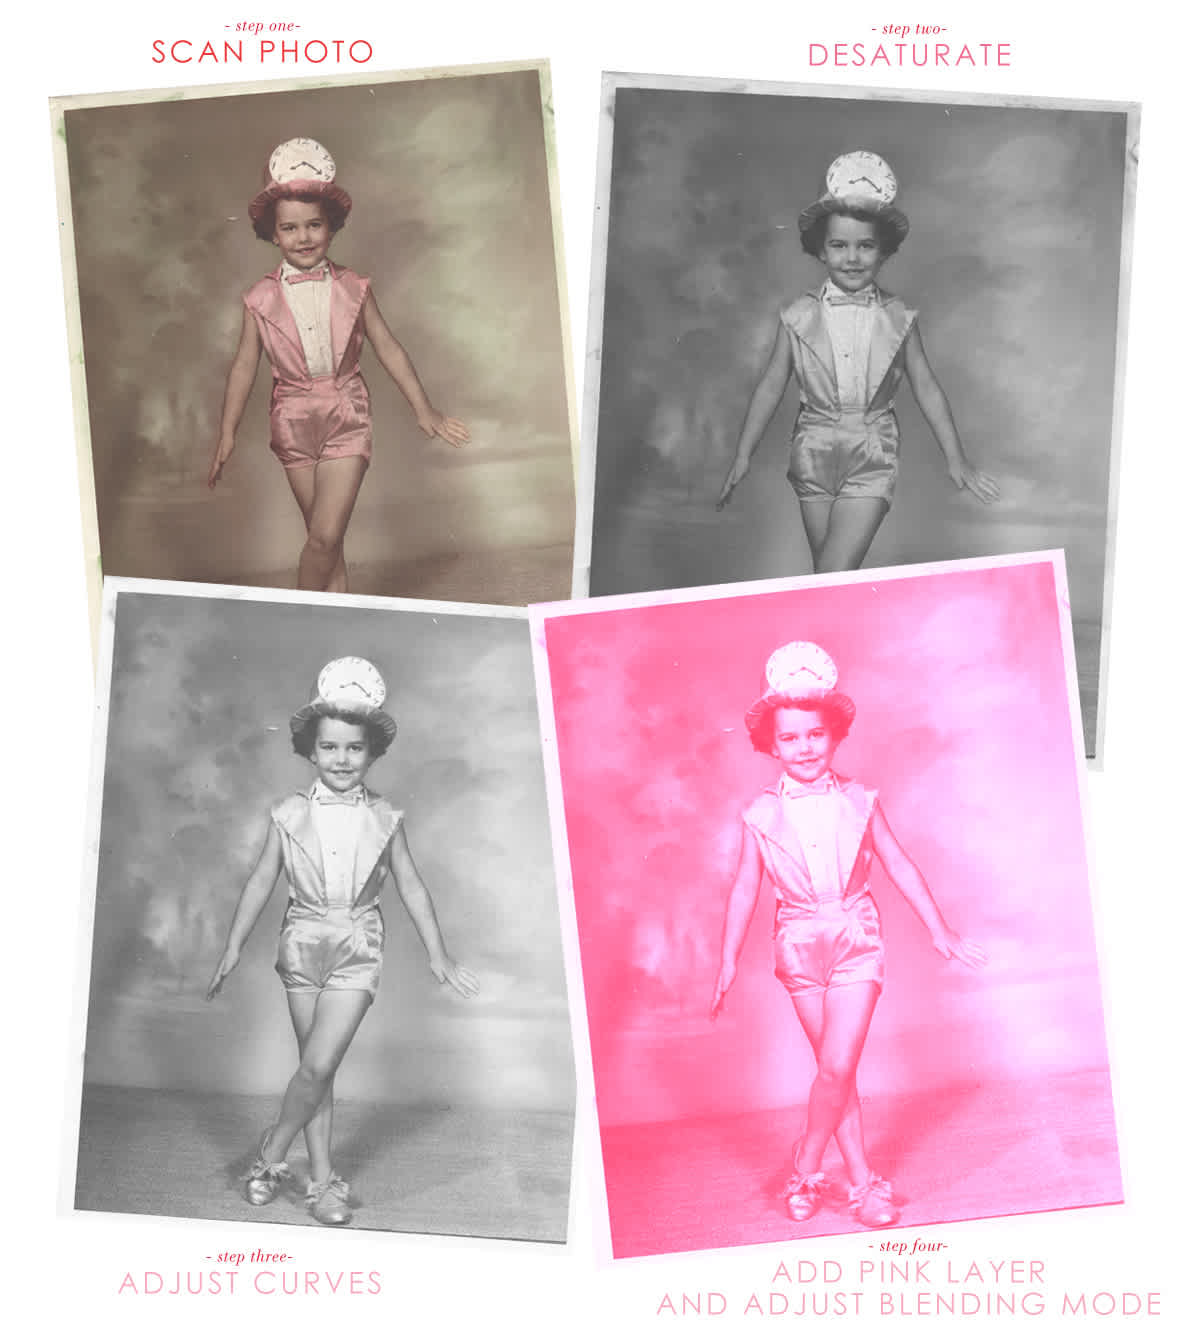 (1) Scan your photo. If you want to print this out large (I went from about an 8" x 10" photo to 40" x 50"!), then scan it in at a very high resolution (600 dpi or so).
(2) Desaturate your image. Even if it's black and white, it may have some yellow or other tone to it, so go ahead and desaturate it. You can do this in photoshop by clicking Image > Adjustments > Desaturate.
(3) Adjust the curves. It will help to give the photo some more contrast, and will make it look cleaner. To do this, go to Image > Adjustments > Curves. To do this, adjust the diagonal line when the curves box appears. An "S" shaped curve is usually what you go for, but play with it until it suits you. (You may also wish to come back and edit it again after overlaying the color.) If you haven't done this before, pull the diagonal line up in the top right quadrant of the box, and maybe down a little in the bottom left quadrant. (If using curves intimidates you, this can be done somewhat by adjusting the brightness and contrast, which is found under Image > Adjustments > Brightness and Contrast).
(4) Overlay a pink layer. To do this, set your foreground color (the two boxes stacked on top of each other in the bottom of the tools palette - they start white on black - just double click the top box) to pink. I used fc5ea8, which you can just copy and paste by the # box if you want the same color.
(5) Adjust blending mode. Make sure the Layers palette is showing (if it's not, then go to Window > Layers and it will appear). Double click on the layer with the pink box, and you will see a "layers style" box appear. Change the blend mode to "vivid light". You may want to play around and try some of the other blend mode options - there may be one you like better! (This can also be done by selecting/highlighting the layer and then selecting different blend modes under the drop down menu directly above in the layers palette.) Also, you may want to adjust your curves again to make sure the image really pops.
(6) Save your image. You can flatten it (Layer > Flatten Image) and then save it as a high resolution jpeg or tif to send to the printer. Find a digital printer in your area (just google "digital printer Altanta" or whatever your city is) and call or email them for a quote. You will probably be surprised at how reasonable it is to make large prints! There are also a lot of substrate options, and you could go for sintra or cardboard or poster board, and then you don't have to frame it! 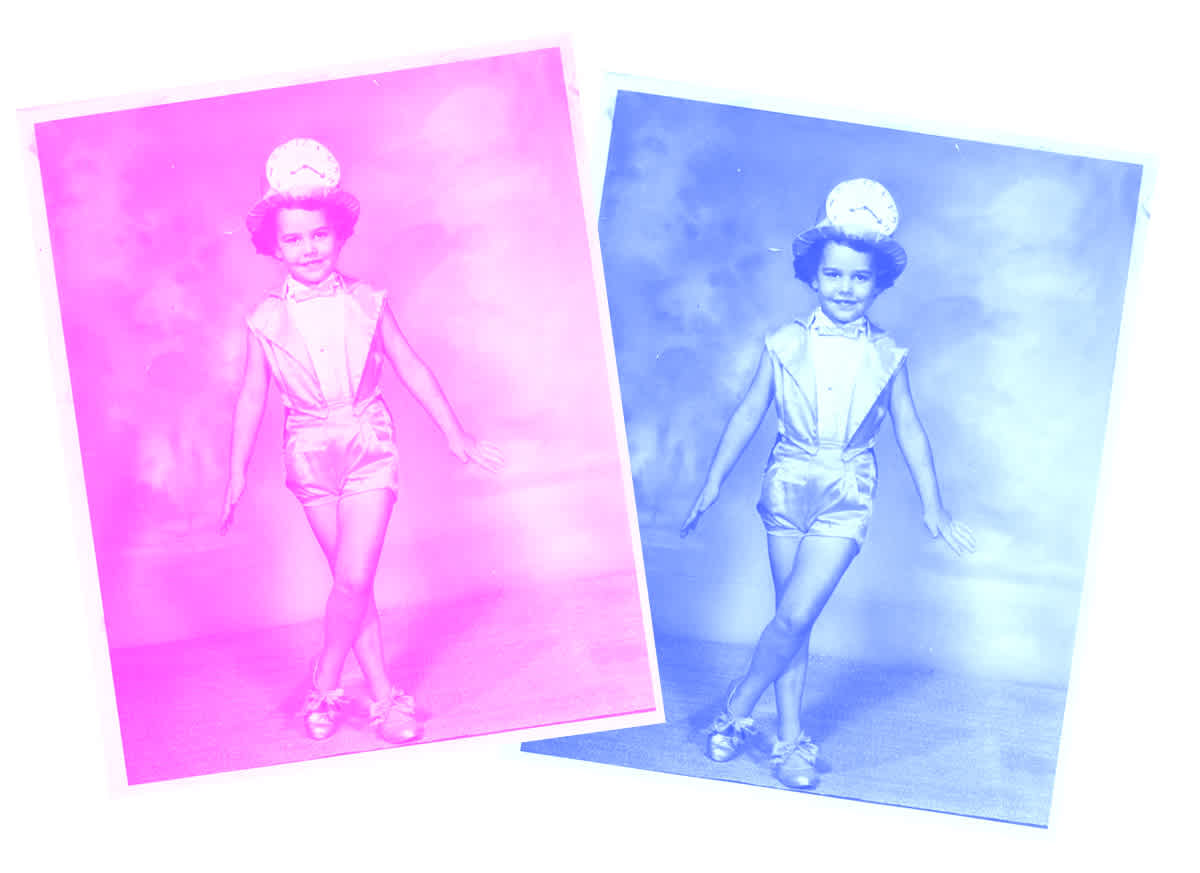 Don't be afraid to experiment with the colors - you might find something you like better than the pink, and you can certainly find some hues that would be better suited for a boy's room! It's a fun way to make an old photo feel fresh and modern, and add a big pop of color! Let me know if you have any questions!

Discussion